Howdy, Stranger!
It looks like you're new here. If you want to get involved, click one of these buttons!
Categories
Bunny twink + custom alpha fluff tutorial

Hey, I'm having a blast with the new editor and made this cute bunny twink to test things out.
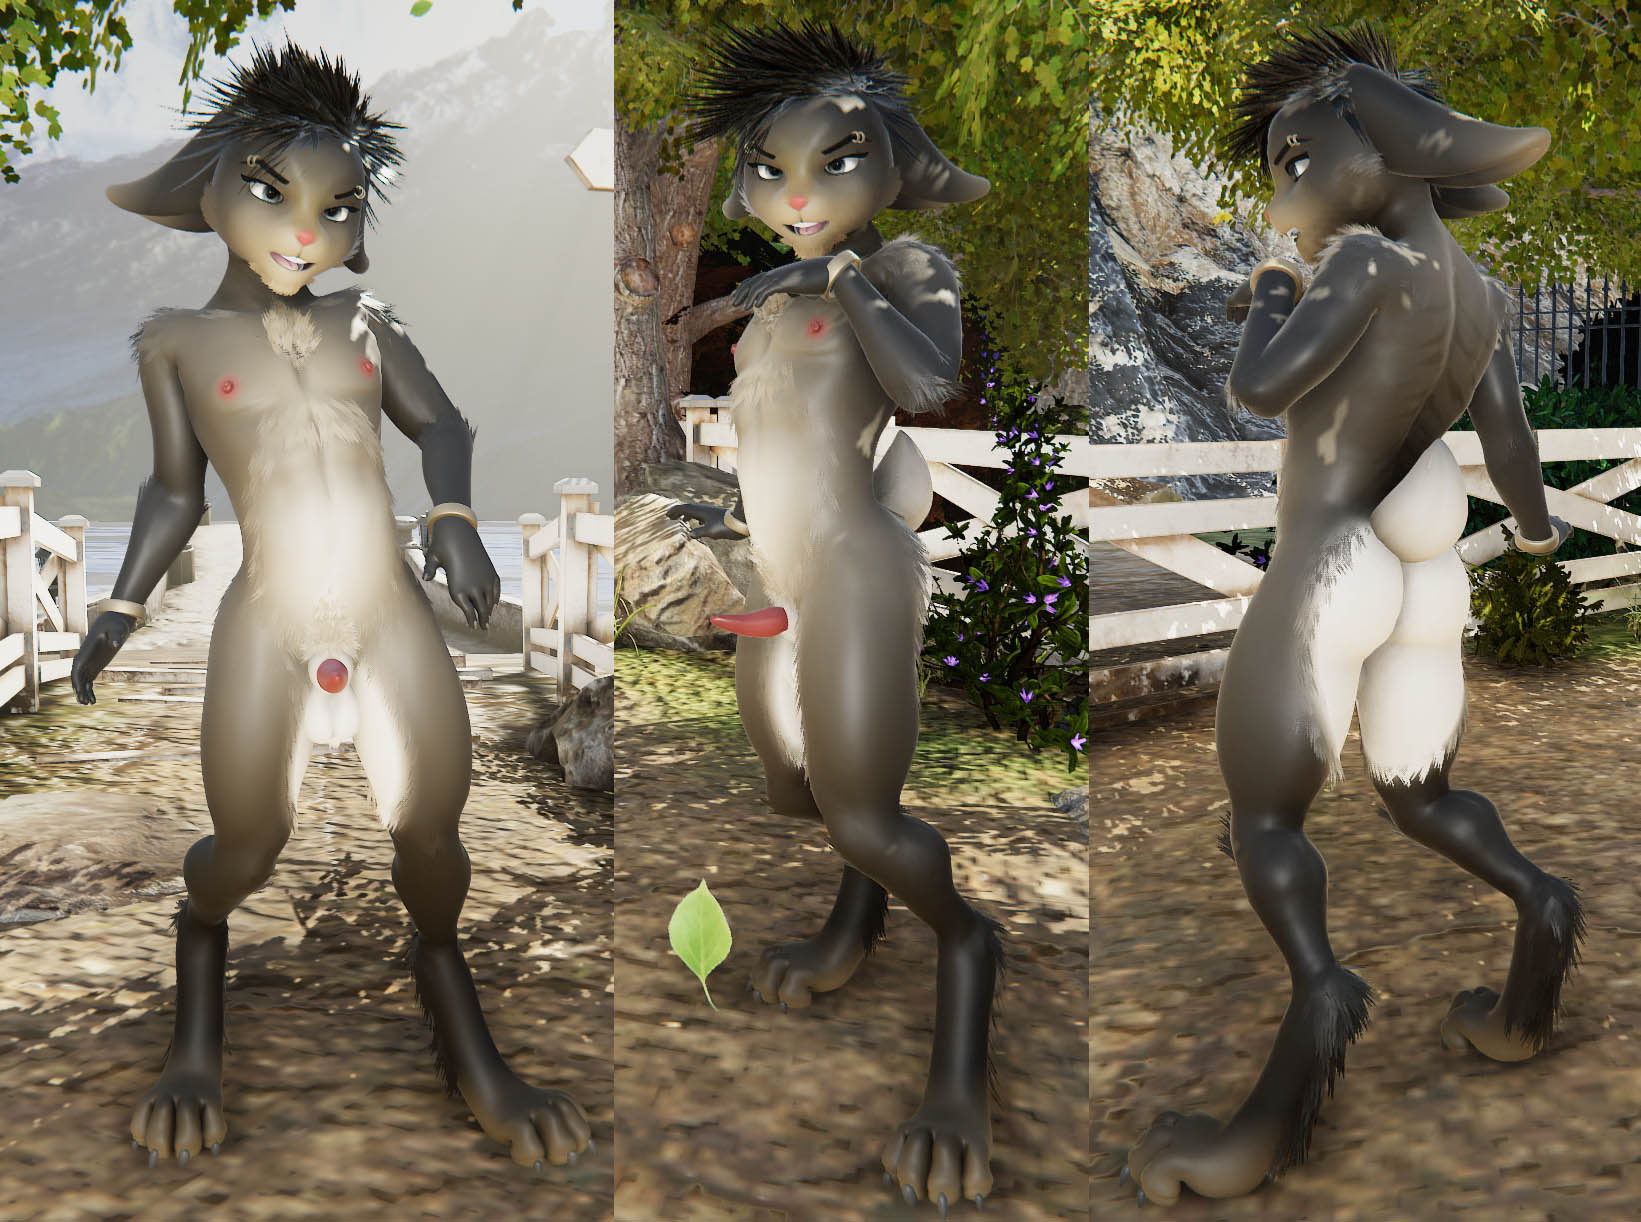
I've used custom alphas for the fur and stripes and made a quick ring model for the piercings.
Also had a lot of fun making things fuzzy with the fluff appendage.
----------------------------------------------------------------------------------
If you want to make fluff like like this here's a quick tutorial:
Out of the box fluff is basically just a square plane but when you add an alpha map to it you can give it the appearance of hair strands. This is the alpha map I made really quickly for testing
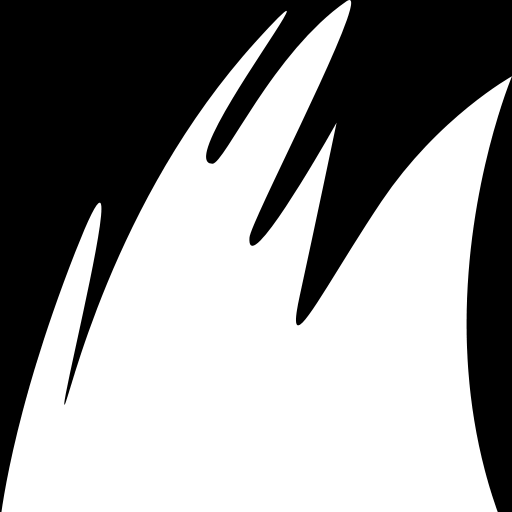
Imagine this texture being stretched to the length and width of the fluff plane, so a longer plane will in this case result in a spikey look. You can modify this texture to get other interesting results too.
So first thing we do is import this custom alpha map. It's important that the file is a .png and that it has a size that is a multiple of two (256x256, 512x512 etc).
You can find the prompt under the Import tab. Import/Texture
It will prompt you to select your file and ask if you want to import it as a Map or a Mask (A map in this case would be a colored texture like an eye while a mask is a black and white image that essentially works like a stencil). We want to import as a Mask.
Now we create a Fluffgroup by clicking the + on the Appendages tab.
Put down a few fluff planes on your character (these can be modified with the sculpting tool) and look for AlphaMask in the Fluffgroups properties. Click on the circle under the cog and select your custom alpha texture.
After loading your character the alpha planes may not immediately work, you can fix this by simply saving your character again.
Comments
Thanks for sharing how you did it too. I'm sure other users will benefit from that.
Thumbs up!
edit:
BTW! The clip mask works with dithering, so the mask can be gradual and it will appear to be more transparent. Would be interesting to see what this character looks like with that!
also thanks for the guide.
Keep in mind though that any files linked will have their paths exposed in the save file. If you'd upload it to the cloud, these paths would be wiped, but if you share the file manually, they'll still be there. Our priority right now is to get the cloud going asap. Then you'd also be able to upload the character and get karma for it. So it's up to you if you want to share it now or wait until we have the cloud up and running.