Howdy, Stranger!
It looks like you're new here. If you want to get involved, click one of these buttons!
Categories
Free 3D texturing
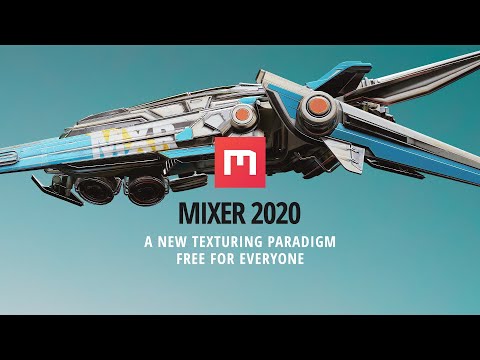
Quixel mixer is a texturing tool that makes painting 3D models much easier.

If you have experience of photoshop, you'll probably feel right at home since this tool make use of layers and filters just like photoshop.
Mixer is similar to Substance Painter in many ways, but without the price tag.
Check it out if you have the time:
https://quixel.com/mixer

If you have experience of photoshop, you'll probably feel right at home since this tool make use of layers and filters just like photoshop.
Mixer is similar to Substance Painter in many ways, but without the price tag.
Check it out if you have the time:
https://quixel.com/mixer
Comments
https://quixel.com/blog/2019/11/12/quixel-joins-forces-with-epic-games
Megascans (an asset library from quixel) is free to use with Unreal Engine, so I guess Epic Games is just creating an incentive for people to use their engine by funding developers of tools, like quixel.
Either way, customers benefit from having free tools regardless of what you're using them for.
From the dev documentation @ http://docs.quixel.com/mixer/1/en/topic/3d-mesh-file-support-in-mixer:
So, unless you're fine with using only fill layers, Mixer is not a viable option, yet.
Yeah I tried it a little bit. I didn't have any problems with painting layers or painting masks, so not sure what's causing the problem you're experiencing.
I agree that Substance Painter is better, but I don't say no to free software.
Mari offers a free non-commercial license, but it's really fussy about importing YL2 models. I have to import/export through blender, or else all I get is an 'could not create entity' error. Additionally, I have to unstack the UVs manually in blender so that strokes don't affect multiple parts at once. And boy does the UI suck in this one. And every stroke takes several seconds to calculate, even on a high-end PC. And rotating the model does not hold the Z axis in place, so you just keep working on a slanted model.
The only character file that I can paint in Mixer normaly is the one with unstacked UVs as well. Of course, since currently the program can't handle UDIMs, you can only paint one section of the model at a time.
Start by creating a generic project in blender, delete the starting cube, and importing your character with default settings. Split the screen, preferably horizontally, to make space for UV workspace, by right-clicking the bottom edge of the window and selecting 'horizontal split'. In the newly created area, select the button in the top left corner and choose 'UV Editor'. Click your imported character model to select it, in upper left corner switch from 'Object mode' to 'Edit mode' - you should see the stacked UVs in the editor. Now, on the sidebar to the right you should have a column of icons. Click the red 'checkered' sphere - Material properties. In there, you should have 4 or 5 materials listed - those are the separate parts of the character, with separate UVs for each. Start with clicking in the model area to clear selection. We should leave the first one alone, so click the second one named 'Material1' and press 'Select' button underneath - the head on the model should light up, and in the UV editor, only head's UV should be visible. Mouse over the UV editor area, then press [A] to select everything. We'll use the keyboard input to move UVs quickly and accurately. Press [G] for 'Move', move your mouse a little (somehow refused to work without that step), then [X] to lock in the X axis, and then [1] to shift it one unit right, and hit [Enter] to confirm. Then, clear the selection from the model, by clicking in the free space next to it. Repeat for all the materials/UVs, but keep increasing the offset by one. When you're finished, export the model.
Edit: posted a video in the later comment.
Ah, that comma thing is actually a bug. Thanks for pointing that out. Should be fixed for the next release.
Google suddenly pretends that it has never heard of metal smoothness..
What are the 'official' ways to prepare such map?
For example, for a metallic hard surface object that is supposed to look worn, it would make sense combine curvature and grunge as mask and then fill that in with roughness.
Example:
Mari is so awful. Just yesterday, when trying to export flattened channels, it'd put flat color in RGB channels, and shape in alpha, making it unusable for import as mask into YL2, but now, when I tried to snap images for an angry rant, doing exactly the same steps as before, it creates the proper output..
I've been spoiled by SubPainter, where everything makes sense and just works
If I remember correctly, body uses 2048x2048, head 1024x1024 and hands/feet 512x512. So you could fit that within a 4k texture. Lots of manual labor though so not optimal, but when devs don't make support for udim or multi material, I'm not sure what other options you have.
I could implement an option where exported assets have had their UVs packed into an atlas (for 4k texture). Then, you could use something like this to unpack the textures you author from the atlas:
https://github.com/lvcabral/PhaserSpriteSheetUnpacker
It would need a json declartion, like this:
https://github.com/lvcabral/PhaserSpriteSheetUnpacker/blob/master/sample/general.json
Is it something I should do, you think?