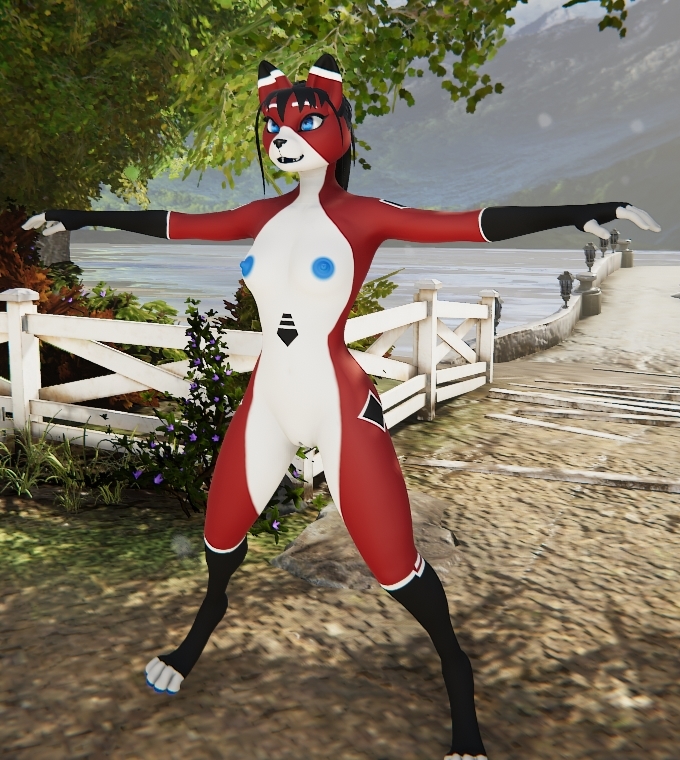
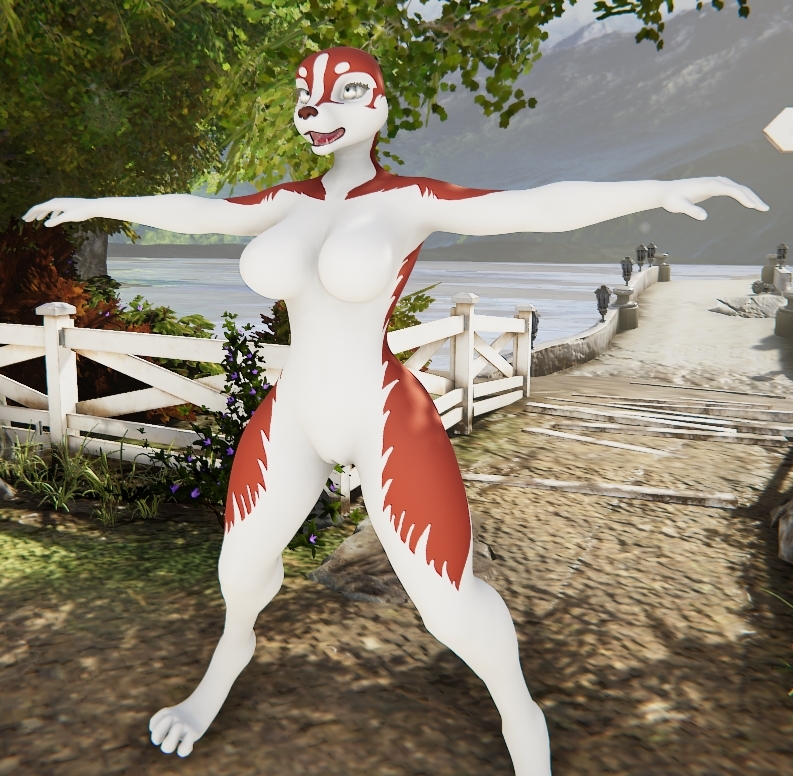
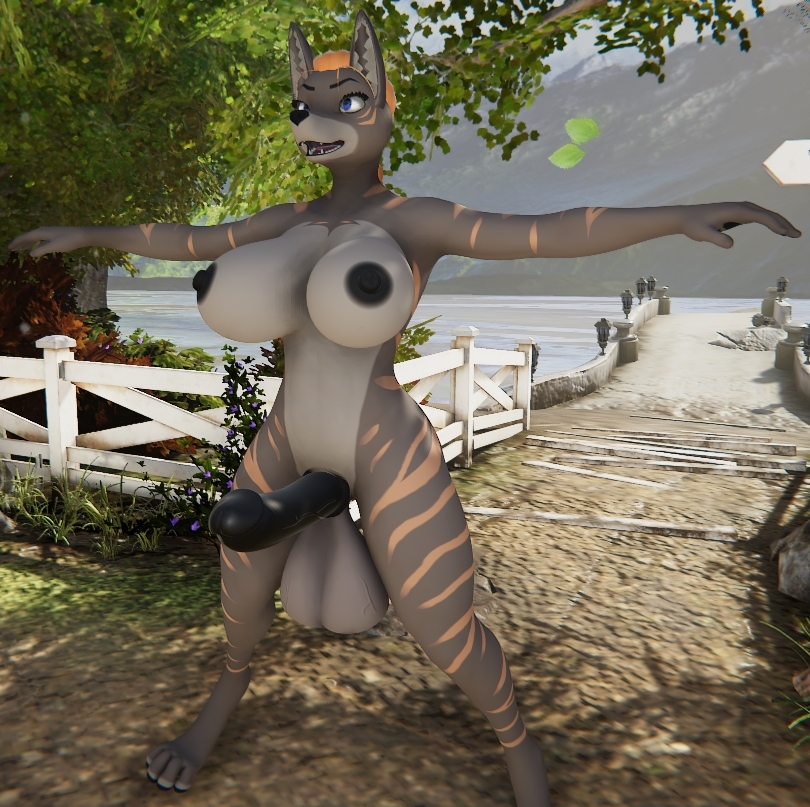
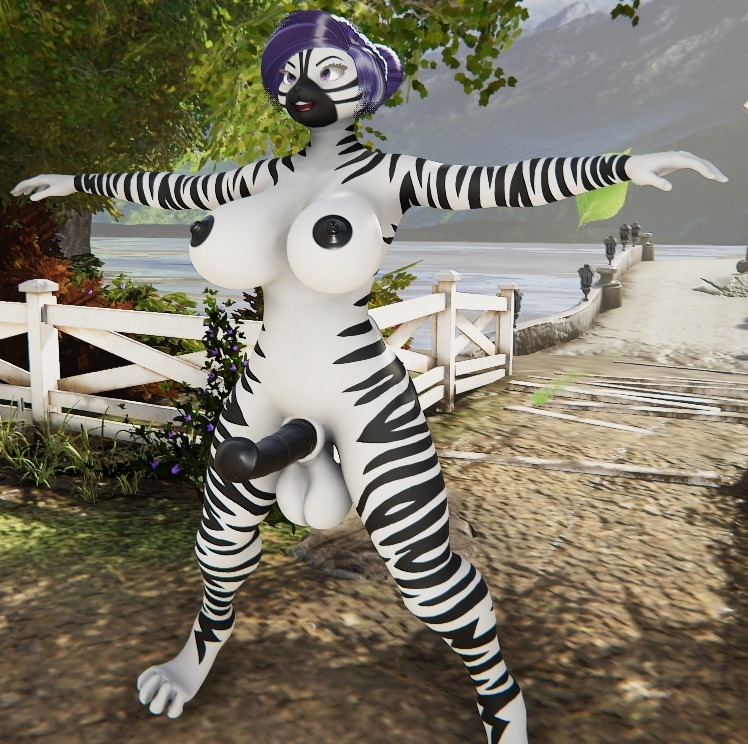
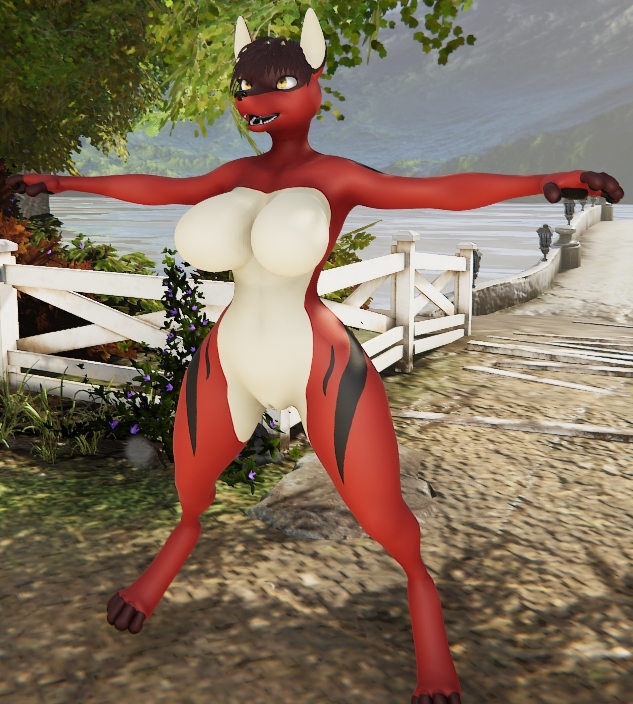
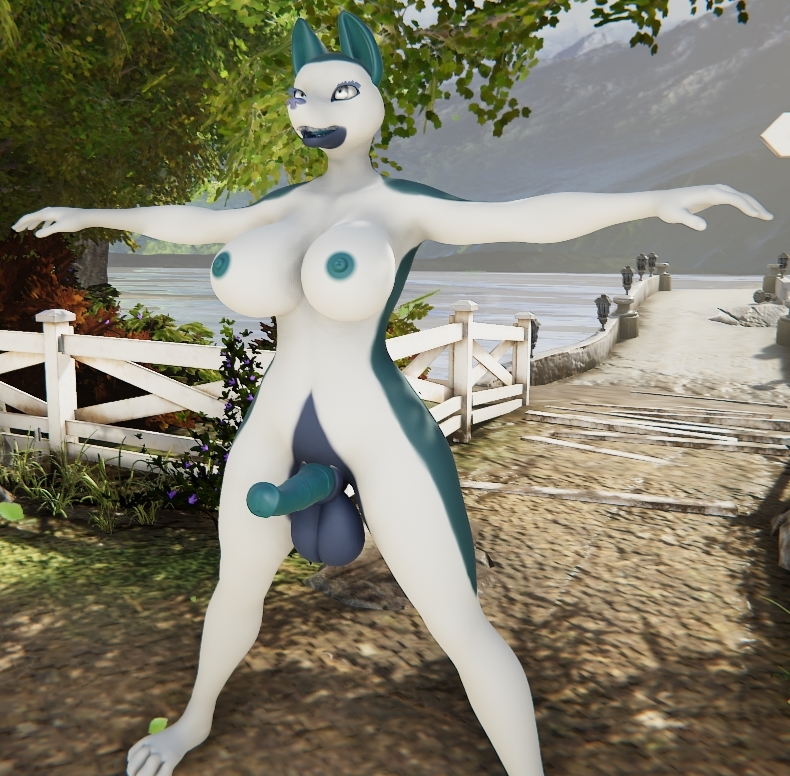
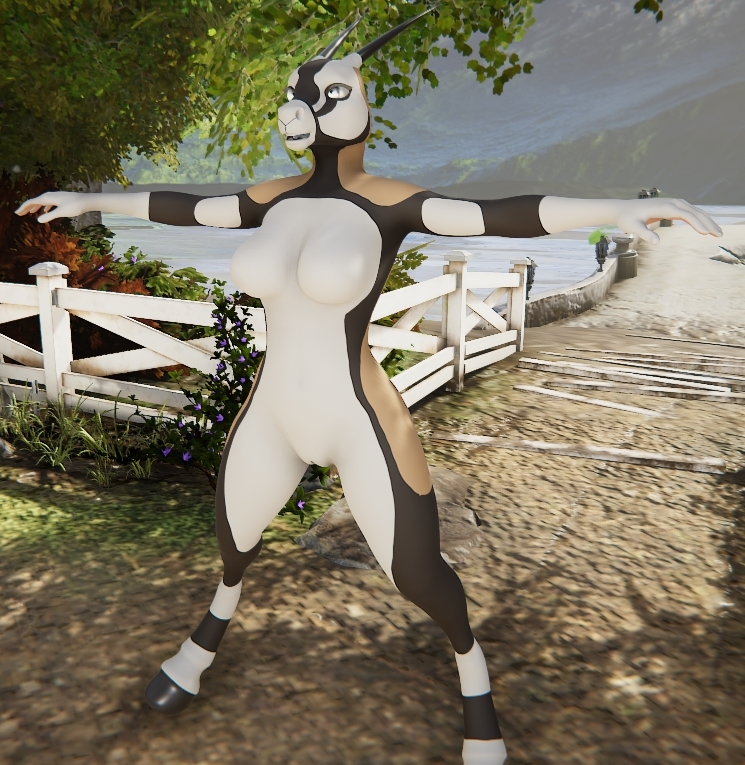
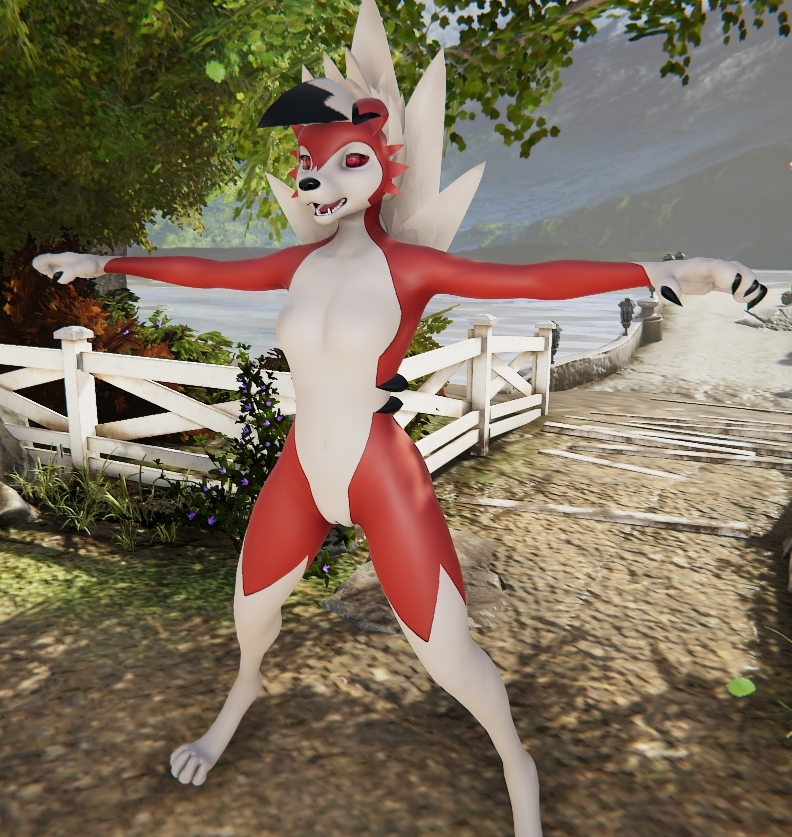
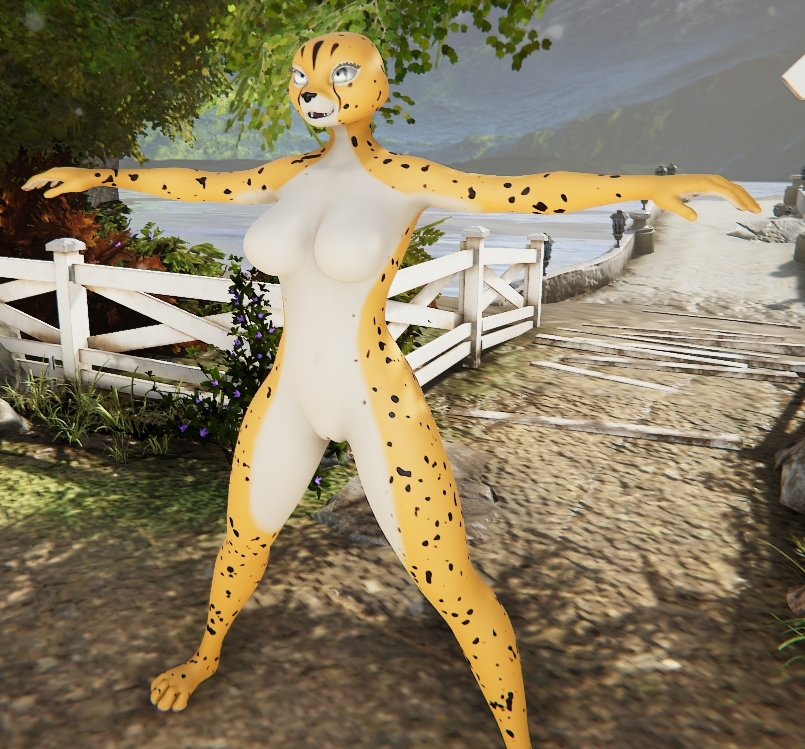
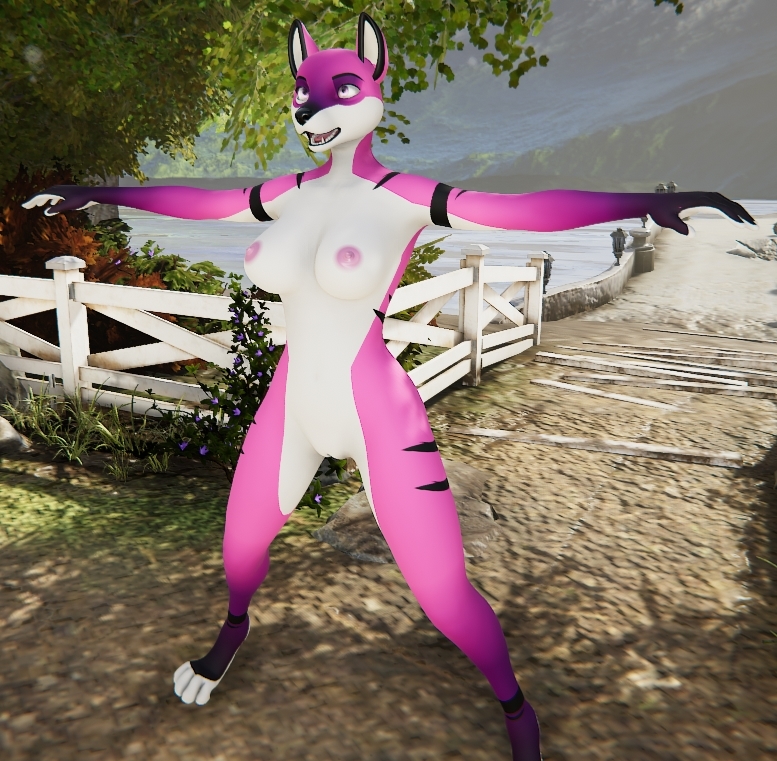
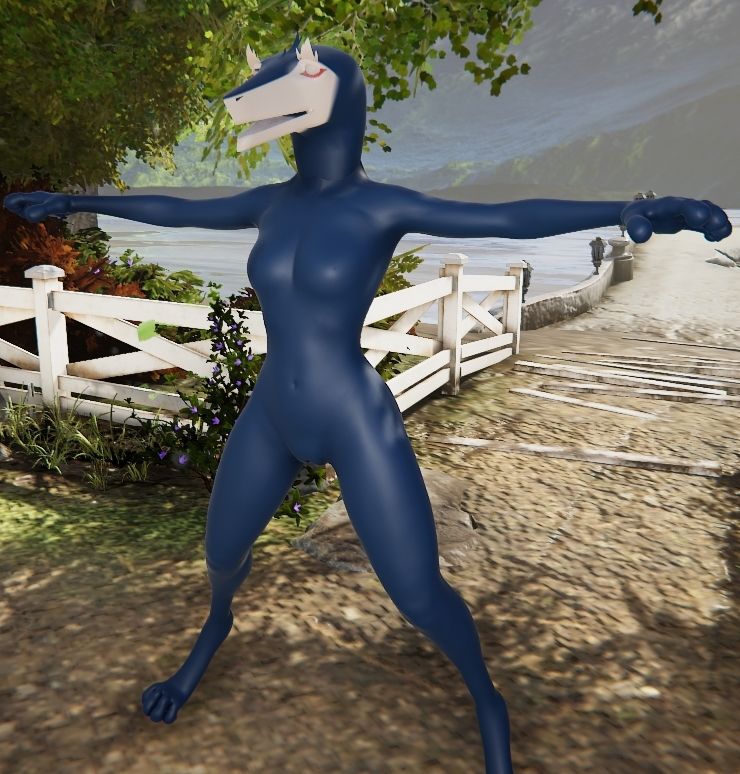
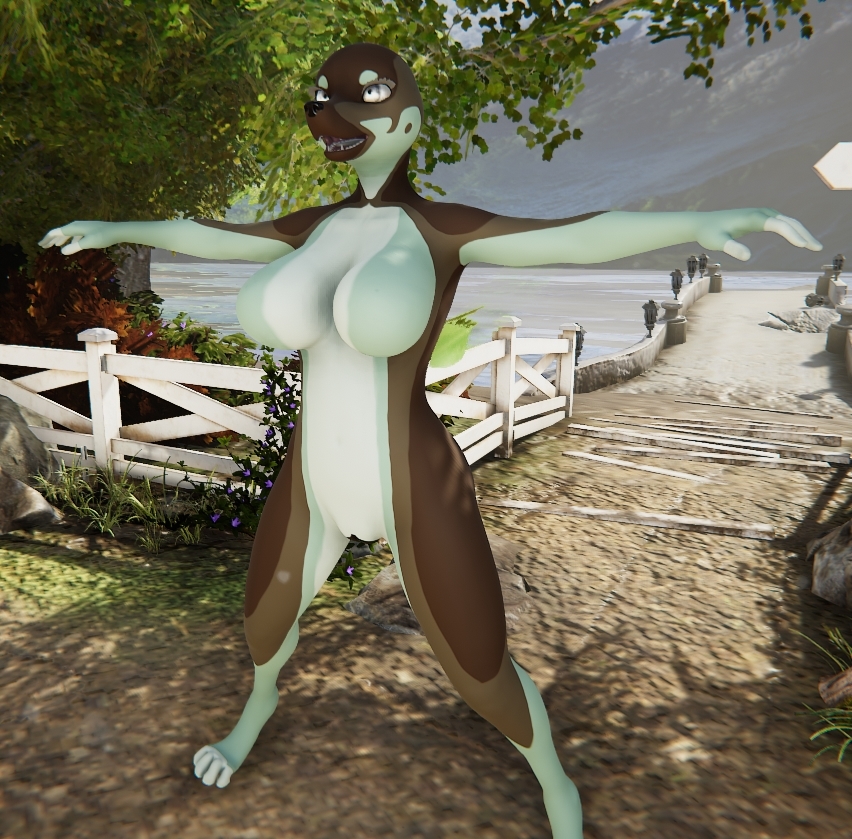
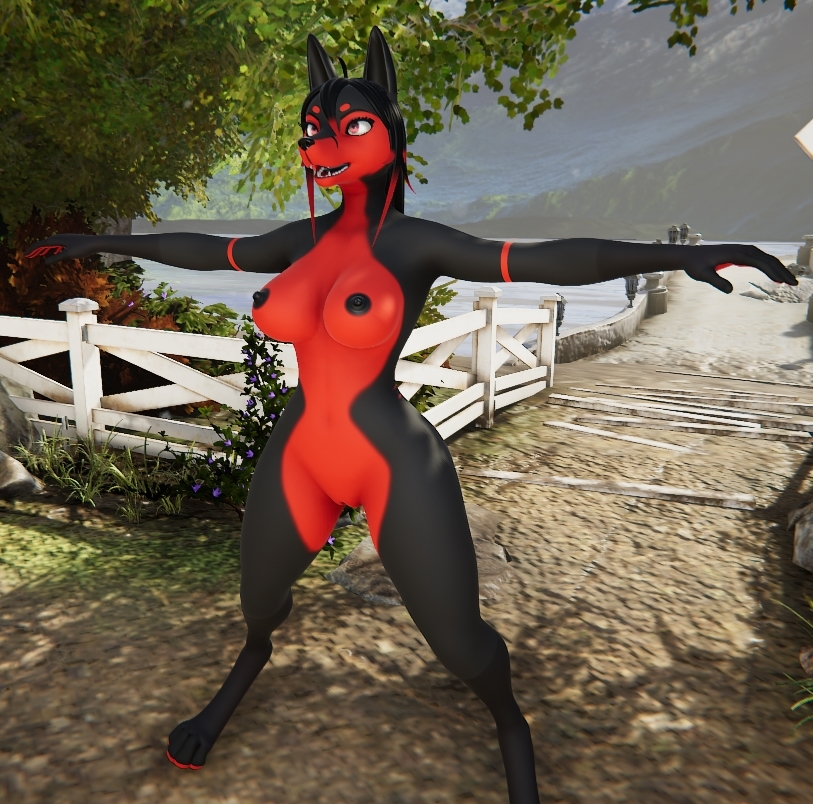
@hellcat please keep in mind that breasts will sag in pose mode and during interactions, which makes them appear more voluminous. And anyway, at this point it's just adjusting breast and areola sliders. Made Azurebolt in the meantime. Body markings need polish.
Adding both to shared drive.
Yeah it does feel very off but I can't say what exactly it is, maybe it's something with the size of the model of the hair and the form that it got placed that it's causing it
The way you did that hair is actually interresting, but I noticed an undesirable SHINE to it. Is it possible that you can adjust the Smoothness levels on it to 0, or close to 0?
Usually that is because the first fill has a smothness level, the character still shines across its skin, everything that comes un top of it will take on that same smoothness level. I see you know something about that because the nose is pretty smoothed out (Like it should ).
Anyway, when I change the smoothness level, every other part that is on the character also needs to be manually adjusted. Im guessing that hair is an appendage group, right? I dont play around with that as much, but if it works like Fluff group, Im going to make a guess that the Model group works similar in that it will take on the smothness level of the characters skin.
The way I would fix this is by doing it the way you did it for the nose. Adding a mask to her head that will fill out the hair, fill it with whatever colour is required and go straight to dragging the opacity for the smoothness up, but its smoothness down. (Does not have to be 0).
That way, you can retain the smoothness for the skin, and have less smoothness for areas that you dont want smoothness.
@Craket the hair is added as a part, and I can freely adjust its smoothness through the default fill layer that's added along with it. At full opacity, the default and underlying smoothness is being overwritten with the set value:
Would you say that this looks better?
I was trying to go for a more shaggy look, but the hair isn't spreading the way it should. This method works way better for longer, smooth hairs, like in the case of Zoe, because when done this way, the hairs are clumped together way too much, and it's easy to have see-through spots between them. Patching them up is also out of the question - without decimating, the vertex count is about 130k!! And because of the severe crunch down, you can probably notice the normals breaking near the tips of some hair bundles. Also, the hair is using the PBR shader. When transforming a curve into mesh for .obj export in blender, the UVs are generated sideways, so if I wanted to apply hair shader right after exporting, the effects look uncanny:
Granted, fixing that is simple, by rotating the UVs clockwise. The effect is also looking neat, but:
There's way too much being cut, because of how the standard basecolor texture was made. By dissecting and examining the provided bunny hair, you might notice that the entire hair texture area is very tightly squished, and just the very tip segments being stretched out to about half of the UV area. By recreating the same steps in my hair model, I can get this effect:
Which, because of strong, uneven vertex decimation, looks just terrible. I've tried to quickly replace the base shape with a straight line, and do a more geometrical decimation, with a relatively better result, but:
There's still not enough hair. In the end, I might have to hand-craft all individual strands, but the thought of managing an exponential amount of paths or vertexes fills me with dread.
Back on topic of smoothness, I had a revelation the other day. Right now, when painting skins externally, I've been exporting the single albedo texture for skin color (per body part), and separate metalness and smoothness textures. Albedo is being fed into the PBR layer, and metalness and smoothness are input into separate texture masks, with full opacity of their respective property, which is then multiplied by provided alpha texture to get the desired amount. But! Since I'm painting all skins in a non-destructive workflow (solid color fill layers with masks to limit the affected areas), I might be able to export all the masks for each affected areas, like base color, coat, nose etc, and use them in many separated texture masks to use the in-game pallette. It might let me tweak final values in game, and be grounds for easier pallette-swaps for characters.
Really nice documentation and experimentation. I did like the first image, or at least better than when it had that bit of shine because it emulated a softer material better (Hair). If it does have shine, it will look too much like clay or a model if that makes sense.
I especially liked the results for that last image, you are definitely on to something with the that Hair/PBR setting (I dont use that often so not well versed with it). To me, from that last one, I think you just have to place them more neatly on top of each other. But I suppose that is difficult to estimate when working between yl2c and blender.
"There's still not enough hair. In the end, I might have to hand-craft
all individual strands, but the thought of managing an exponential
amount of paths or vertexes fills me with dread."
I went and looked at the default bunny hair and saw the model for that hair is actually like that. Almost every strand is placed, or at least it looks like it. HOWEVER, I think you have a grand opportunity here.
Since you are dabbling with creating model hairs, you can also create modular hair parts. The bunny characters hair is all 1 model, but, if each part of that model, the bun, the front bang etc were each their own model, you can then reuse and make different kinds of hairs with existing hair models that you made.
So I honestly think you should go for it if you have the patience, especially for something modular. I think that would be amazing for yourself and others. I dont have the skills for blender atm, but you opened my eyes here for the future.
By dissecting and examining the provided bunny hair
Hang on a minute, there's a way to extract the base game parts assets? I could use that ability at the moment, I'd like to make a rather elaborate piece of jewelry for the cow horns, but that's going to be a bit tricky if I don't have the actual horn model to act as reference for where I should put stuff.
A detailed guide on how to work hair meshes so they play nicely with the hair shader would also be handy for future reference, if you'd be so kind as to produce such. Maybe the devs could shed some light on it, too. Hey @odes and @Dogson, can we get some input? I've been pondering the best methods for modelling hair in general given YL2's current limitations, but since I'm apparently lacking in some key points of knowledge regarding the process, I doubt I could come to any terribly useful conclusions.
Best I can say for now is make it piecemeal and modular as Craket suggests, paying especially close attention to the areas where there's going to be a lot of mesh deformation, like the meeting point of head and neck; you'll want several parts all attached to different points on the mesh in order to minimize the gaps moving the two bones around will generate. I tried something like that with Ameliée, the last character I released, but it wasn't anywhere near enough; I only made two separate parts, one for the head and one for the neck. Didn't work very well, so in the end I just scrapped the neck hair mesh entirely and reworked the head hair mesh, and it's still rather limiting on what angles her head can be positioned in without clipping issues becoming very noticeable, so yeah, one big model definitely isn't the ideal solution here. Even once the devs get around to implementing part bones and physics, the more modular nature of separate parts will be useful for creating variation with just the assets on hand, which will be handy for the creators who haven't gotten started on 3D modelling themselves yet.
@Brownmane the bunny hair isn't an integrated part of YL2, it's just bundled with bunny template the same way you'd import local assets into your character:
There isn't much to make a guide about, but I'll try to explain the process from end-user's point. To start with, let's assume we're using the default hair mask, the Base Color
From what I've noticed, it works like combined AlphaMask and ColorMask from fluff. At a specific cutoff value, dither alpha kicks in. Having this as a base model:
With uniform UV segment spacing, you get a following result:
The cutoff value can be modified a bit, but the lower the value, the smoother the transition. As you can see, by default, there's a lot being cut off. You can mitigate this by shifting UVs, so that only the tip of the hair segments are being affected by this:
Another method would probably be crafting your own Base Color mask, but I don't know how to create a good-enough looking effect that would be comparable in quality to the inbuilt one. @Dogson, @odes, would a over-res large-grain noise, squashed horizontally and multiplied over a simple linear gradient be enough?
Well shit, never noticed that about the bunny hair or the texture options. Thank you, this should help with planning things out. Hmm, this does also raise the interesting question of whether one could use the hair material to jury-rig uniform transparency to a part. I've been trying to test that for a few minutes now, but I can't seem to get alpha channels saved into a .png with Photoshop in a way YL2 will recognize.
EDIT: Nevermind, I done had a brainfart there; obviously you just use the transparency of the layers rather than trying to do an actual alpha channel, derp. But yeah, it does indeed work in that capacity:
The mesh's texture unwrap needs some work to get rid of those squares at the edge but not too bad otherwise. This opens up some interesting possibilities, such as gemstones, which will be very handy for that jewelry project I've got in mind; now I just need the horns, though I guess I could manage with some trial and error, jumping back and forth between programs, too.
@Brownmane, you can create cleaner UVs by splitting up the mesh with UV seams. In blender, select the outermost loop with alt + left click, and from the top menu, select Edge -> Mark seam. Repeat for the second lens as well. Then, select all with A, and from the top menu do UV -> Unwrap.
It's a quick way to get rid of those artifacts.
In other news, Operation Character Mask was a success! (Click for better quality)
While messing around with appendage model group, I've noticed that FXMap doesn't appear to be working. Even with a manually crafted map, it doesn't seem to affect any of the properties.
@Craket, @Brownmane, when you mentioned modular hair, what shapes did you have in mind? Could you provide me with an example? I can't work without reference. If my creativity was a number, it would be in the negatives
Here's the tutorial I'm using to model hair. I don't think I've posted this before: https://www.youtube.com/watch?v=t2XjdzzWCqI In short, it's casting a path object along another path (Bevel -> Object property)
Which you can easily manipulate with a few control points
..At least, as long as there aren't too many of them
Can't find any pictures or videos of what I mean, and I'm a bit busy so I can't manufacture such myself at the moment, so you'll have to make do with a textual description for now.
Modular as in constructed from many smaller parts, rather than being a single large part. For example, the hair you're working on looks to be made up of copy-pasted meshes, varied by mapping them to paths, yes? It would probably be quite simple to separate those meshes into multiple different groups, which you then export as separate parts.
The design you're going with on the hair you're working on probably won't benefit from it too much, since I'm guessing you're deliberately designing it so that the effects of mesh deformation are minimized, but if you want to add some length to the back, you'll definitely want to make that part of it in clumps you then attach to multiple points on the neck in YL2 so they'll handle deformation better. Such clumps could also be used to create new hairstyles without having to switch back to blender.
@Brownmane do you mean it as a mane - hair growing along the neck and back, or as just flowing long hair? It probably wouldn't be hard to create a mane. I'd just make a single clump of hair, and place them on the skin with appendage group, but that bars us from using hair shader. Adding clumps as parts doesn't work - even if you place them using SurfacePoint as reference, they still stick to bones, and don't follow skin deformation Appendage groups do, but they don't play nice with current shape You'd be better off using shorter, perpendicular shapes, placed densely.
do you mean it as a mane - hair growing along the neck and back, or as just flowing long hair?
I guess as a mane, though you'd have to do long hair similarly if you don't want it sticking out at wild angles or clipping into the character when the head moves.
Adding clumps as parts doesn't work - even if you place them using
SurfacePoint as reference, they still stick to bones, and don't follow
skin deformation
Looks like my theory isn't quite so workable in practice, then. Serves me right for hypothesizing without testing.
Yeah, small parts packed densely looks to be the way to go, outside of moving the head around as little as possible, which is rather limiting. Sure hope the devs make part bones and physics a priority after they get the cloud up and running; besides making hair more viable, it should open up some other interesting possibilities, too.
@hellcat I can't decide on a design for them. There aren't many pictures with a clear shot of the back, and each one is vastly different Which one do you like better?
I've cleaned up the back stripes, and Mari decided to shit the bed, corrupting the project. Now one of the masks is exporting with wrong alpha, and application crashes, when I try to select anything after export. All that because I've modified layers' blend modes lol.
Further improvements to the skin will be problematic, to say the least.
@odes No no no, it's Mari that's faulty, YL2 works perfectly fine.
In the meantime I found out that the crashes are caused by exporting an unflattened mask stack. Mixing modes was a completely separate issue it seems. It's so weird seeing how many problems such an industrial-grade program has..
@Styl1sh Hey, sorry for bumping the thread. Dont worry, itl give it more exposure! :P
Anyway, I came back and had an idea after thinking more about hair as models etc, and coming back to my little idea about making it modular.
While drawing stuff, I remembered a trick to some stylish hairs that I *think* anime uses. I played a free game called KurtzPel. I personally do not recommend it anymore, its sleazy, but it helps looking into the character editor for the hairs. In that game, the hair pieces are modular in cool ways.
Front hair
Side Bangs
Back Hair
Extentions (like a Pony tail and buns etc)
I do not remember the exact modular number but it is unique. If you... buy a character re-editor... you then get access to more hair pieces than when you do it for the first time for free (Its that sleazy). Thats if you wanna go that far. Regardless, the example of modular hair is actually very prosperous and is something I will go into. Im just sharing this since you are already miles ahead.
Thinking about hair like this makes it easier to come up with hair
styles on the fly, especially for drawing heck even steal inspiration from several characters
is possible.
Comments
I can't get my head to work with YL2 fluff, so I'm searching for alternatives.
At least I've got the skin making figured out, so I'm willing to take on some requests.
Made Azurebolt in the meantime. Body markings need polish.
Adding both to shared drive.
https://gyazo.com/b6457c3ec780c206ec6ae99fa61ab312
I still feel like something's very off..
Would you say that this looks better?
I was trying to go for a more shaggy look, but the hair isn't spreading the way it should. This method works way better for longer, smooth hairs, like in the case of Zoe, because when done this way, the hairs are clumped together way too much, and it's easy to have see-through spots between them. Patching them up is also out of the question - without decimating, the vertex count is about 130k!! And because of the severe crunch down, you can probably notice the normals breaking near the tips of some hair bundles.
Also, the hair is using the PBR shader. When transforming a curve into mesh for .obj export in blender, the UVs are generated sideways, so if I wanted to apply hair shader right after exporting, the effects look uncanny:
Granted, fixing that is simple, by rotating the UVs clockwise. The effect is also looking neat, but:
There's way too much being cut, because of how the standard basecolor texture was made. By dissecting and examining the provided bunny hair, you might notice that the entire hair texture area is very tightly squished, and just the very tip segments being stretched out to about half of the UV area. By recreating the same steps in my hair model, I can get this effect:
Which, because of strong, uneven vertex decimation, looks just terrible.
I've tried to quickly replace the base shape with a straight line, and do a more geometrical decimation, with a relatively better result, but:
There's still not enough hair. In the end, I might have to hand-craft all individual strands, but the thought of managing an exponential amount of paths or vertexes fills me with dread.
Back on topic of smoothness, I had a revelation the other day. Right now, when painting skins externally, I've been exporting the single albedo texture for skin color (per body part), and separate metalness and smoothness textures. Albedo is being fed into the PBR layer, and metalness and smoothness are input into separate texture masks, with full opacity of their respective property, which is then multiplied by provided alpha texture to get the desired amount. But! Since I'm painting all skins in a non-destructive workflow (solid color fill layers with masks to limit the affected areas), I might be able to export all the masks for each affected areas, like base color, coat, nose etc, and use them in many separated texture masks to use the in-game pallette. It might let me tweak final values in game, and be grounds for easier pallette-swaps for characters.
I'll give it a go, soon, hopefully.
That makes the hair way easier to manage, results are cleaner, and I can stuff much more in there right now.
The stuffing will have to happen later
I can't seem to be able to turn down the gloss any more with the hair shader.
Edit: cleaned up puffy mesh:
Hang on a minute, there's a way to extract the base game parts assets? I could use that ability at the moment, I'd like to make a rather elaborate piece of jewelry for the cow horns, but that's going to be a bit tricky if I don't have the actual horn model to act as reference for where I should put stuff.
A detailed guide on how to work hair meshes so they play nicely with the hair shader would also be handy for future reference, if you'd be so kind as to produce such. Maybe the devs could shed some light on it, too. Hey @odes and @Dogson, can we get some input? I've been pondering the best methods for modelling hair in general given YL2's current limitations, but since I'm apparently lacking in some key points of knowledge regarding the process, I doubt I could come to any terribly useful conclusions.
Best I can say for now is make it piecemeal and modular as Craket suggests, paying especially close attention to the areas where there's going to be a lot of mesh deformation, like the meeting point of head and neck; you'll want several parts all attached to different points on the mesh in order to minimize the gaps moving the two bones around will generate. I tried something like that with Ameliée, the last character I released, but it wasn't anywhere near enough; I only made two separate parts, one for the head and one for the neck. Didn't work very well, so in the end I just scrapped the neck hair mesh entirely and reworked the head hair mesh, and it's still rather limiting on what angles her head can be positioned in without clipping issues becoming very noticeable, so yeah, one big model definitely isn't the ideal solution here. Even once the devs get around to implementing part bones and physics, the more modular nature of separate parts will be useful for creating variation with just the assets on hand, which will be handy for the creators who haven't gotten started on 3D modelling themselves yet.
There isn't much to make a guide about, but I'll try to explain the process from end-user's point.
To start with, let's assume we're using the default hair mask, the Base Color
From what I've noticed, it works like combined AlphaMask and ColorMask from fluff. At a specific cutoff value, dither alpha kicks in. Having this as a base model:
With uniform UV segment spacing, you get a following result:
The cutoff value can be modified a bit, but the lower the value, the smoother the transition.
As you can see, by default, there's a lot being cut off. You can mitigate this by shifting UVs, so that only the tip of the hair segments are being affected by this:
Another method would probably be crafting your own Base Color mask, but I don't know how to create a good-enough looking effect that would be comparable in quality to the inbuilt one. @Dogson, @odes, would a over-res large-grain noise, squashed horizontally and multiplied over a simple linear gradient be enough?
Well shit, never noticed that about the bunny hair or the texture options. Thank you, this should help with planning things out.
Hmm, this does also raise the interesting question of whether one could use the hair material to jury-rig uniform transparency to a part. I've been trying to test that for a few minutes now, but I can't seem to get alpha channels saved into a .png with Photoshop in a way YL2 will recognize.
EDIT: Nevermind, I done had a brainfart there; obviously you just use the transparency of the layers rather than trying to do an actual alpha channel, derp. But yeah, it does indeed work in that capacity:
The mesh's texture unwrap needs some work to get rid of those squares at the edge but not too bad otherwise. This opens up some interesting possibilities, such as gemstones, which will be very handy for that jewelry project I've got in mind; now I just need the horns, though I guess I could manage with some trial and error, jumping back and forth between programs, too.
It's a quick way to get rid of those artifacts.
In other news, Operation Character Mask was a success!
(Click for better quality)
While messing around with appendage model group, I've noticed that FXMap doesn't appear to be working. Even with a manually crafted map, it doesn't seem to affect any of the properties.
I can't work without reference. If my creativity was a number, it would be in the negatives
Here's the tutorial I'm using to model hair. I don't think I've posted this before:
https://www.youtube.com/watch?v=t2XjdzzWCqI
In short, it's casting a path object along another path (Bevel -> Object property)
Which you can easily manipulate with a few control points
..At least, as long as there aren't too many of them
Can't find any pictures or videos of what I mean, and I'm a bit busy so I can't manufacture such myself at the moment, so you'll have to make do with a textual description for now.
Modular as in constructed from many smaller parts, rather than being a single large part. For example, the hair you're working on looks to be made up of copy-pasted meshes, varied by mapping them to paths, yes? It would probably be quite simple to separate those meshes into multiple different groups, which you then export as separate parts.
The design you're going with on the hair you're working on probably won't benefit from it too much, since I'm guessing you're deliberately designing it so that the effects of mesh deformation are minimized, but if you want to add some length to the back, you'll definitely want to make that part of it in clumps you then attach to multiple points on the neck in YL2 so they'll handle deformation better. Such clumps could also be used to create new hairstyles without having to switch back to blender.
It probably wouldn't be hard to create a mane. I'd just make a single clump of hair, and place them on the skin with appendage group, but that bars us from using hair shader.
Adding clumps as parts doesn't work - even if you place them using SurfacePoint as reference, they still stick to bones, and don't follow skin deformation
Appendage groups do, but they don't play nice with current shape
You'd be better off using shorter, perpendicular shapes, placed densely.
I guess as a mane, though you'd have to do long hair similarly if you don't want it sticking out at wild angles or clipping into the character when the head moves.
Looks like my theory isn't quite so workable in practice, then. Serves me right for hypothesizing without testing.
Yeah, small parts packed densely looks to be the way to go, outside of moving the head around as little as possible, which is rather limiting. Sure hope the devs make part bones and physics a priority after they get the cloud up and running; besides making hair more viable, it should open up some other interesting possibilities, too.
I'll try to make a swept-back mane for her.
Which one do you like better?
Further improvements to the skin will be problematic, to say the least.
Can you send me the offending file?
In the meantime I found out that the crashes are caused by exporting an unflattened mask stack. Mixing modes was a completely separate issue it seems.
It's so weird seeing how many problems such an industrial-grade program has..